How to Use Whisk AI: Subject, Scene and Style Explained
Whisk AI tutorial: what the Subject, Scene and Style slots do, when to skip the prompt, which model to pick, what a remix costs and how to animate it.
Whisk AI is a way of making pictures without writing a long prompt: you show the model a subject, a scene and a style, and it blends them into one new image. This guide explains how Whisk AI remixing works on WhiskAI, what each of the three slots really does, when a prompt helps and when you can leave it empty, which model to choose, what it costs, and how to turn a finished remix into a short video. Everything below happens in the image studio, in your browser.
WhiskAI is an independent service. It is not affiliated with, endorsed by or sponsored by Google. Whisk and Google are trademarks of Google LLC; we use "Whisk AI" to describe the subject + scene + style remix workflow.
What a Whisk AI remix is
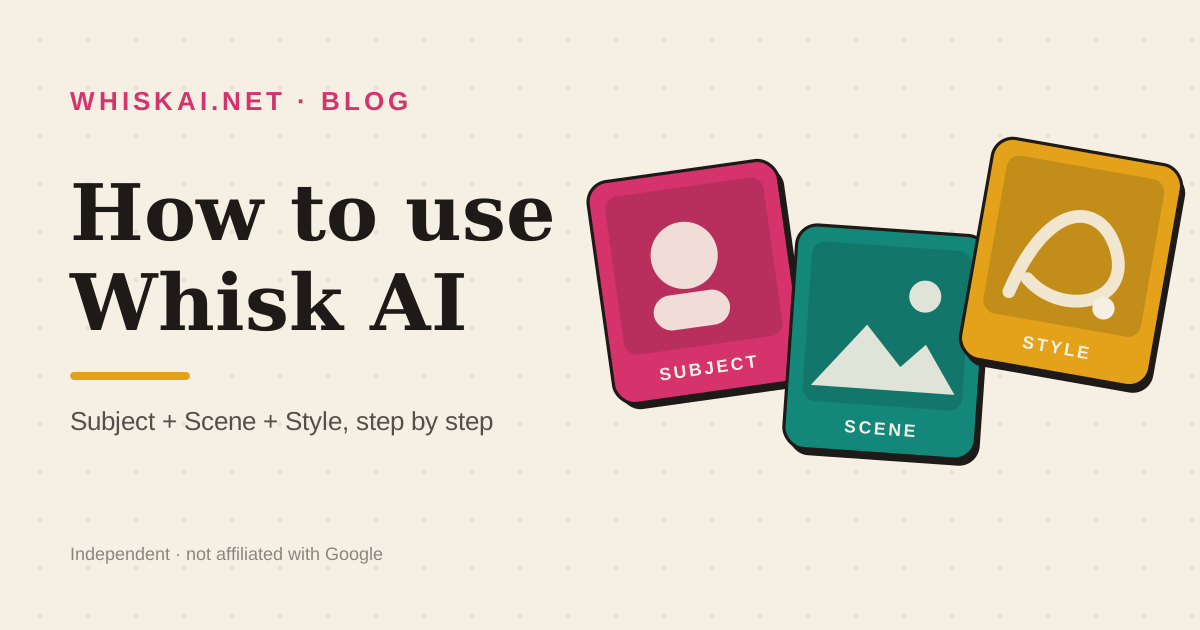
A classic text-to-image tool starts from words. A Whisk AI remix starts from pictures. Instead of describing "a small orange cat, sitting on a neon arcade cabinet, drawn as a glossy vinyl sticker", you drop three images into labelled slots:
- Subject: the thing that should appear in the result. A pet, a product, a character, a mascot, a person (with their consent).
- Scene: where the subject should be. A beach, a kitchen, a city street at night, an empty studio backdrop.
- Style: how the result should look. A watercolor painting, a sticker sheet, a clay model, a retro poster, a pencil sketch.
The studio sends the filled slots to a multi-reference image model together with a short instruction that tells it which image plays which role. The model keeps the identity of the subject, borrows the setting and light of the scene, and renders everything in the look of the style image. You can fill one, two or all three slots, and you can add a prompt on top.
Step 1: Open the image studio and pick a model
Go to the WhiskAI image studio. The remix slots sit above the prompt box. Before you upload anything, check the model picker:
- Nano Banana Pro is the default and the best all-round choice for remixing. It accepts up to 8 reference images, keeps faces and products recognisable, and renders clean text. It costs 25 credits at 1K or 2K and 33 credits at 4K.
- Nano Banana 2.1 is the budget pick for drafts: 6 credits at 1K, 9 at 2K, 13 at 4K, and it is good at keeping a character consistent.
- Nano Banana 2 (11 / 17 / 25 credits at 1K / 2K / 4K) gives more detail and wide aspect ratios.
- GPT Image 2 and GPT Image 2.5 Flare (9 credits at 1K, 14 at 2K, 22 at 4K) lean towards vivid, illustrative results and strong typography, which suits posters and stickers.
One model on the list, GPT Image 2.6 Economy, takes no reference images, so it cannot remix; use it for pure text-to-image ideas only. You only pay for successful images: if a render fails, the credits go back to your balance.
Step 2: Fill the Subject, Scene and Style slots
Click a slot or drop a file onto it. JPG, PNG and WebP all work. A few rules make a big difference:
Subject. Use one clear subject per image, well lit, with little clutter around it. A product on a plain table works better than the same product on a busy shelf. If the subject is a character you drew, a front view is the safest reference.
Scene. Pick a picture for its place and its light, not for what is in it. If your scene photo already contains a person, the model may keep that person. An empty room, a landscape or a backdrop gives it the cleanest setting.
Style. This slot reads texture, colour and medium. A close crop of a watercolor, a page of stickers or a photo of a clay figure is a stronger signal than a whole scene in that style. Avoid style images with a strong subject of their own, or you will get a hybrid.
You do not need all three. Subject + Style alone gives you "my cat as an enamel pin". Subject + Scene alone puts your product in a new location while keeping a photographic look. Style alone, with a prompt, works like a style reference for text-to-image.
Step 3: Decide whether you need a prompt
WhiskAI lets you generate with the prompt box empty once at least one slot is filled. That prompt-less mode is the quickest way to see what the model makes of your three images, and it often gives the most surprising results.
Add a prompt when you want control over something the images cannot say:
- Action or pose: "jumping", "holding a coffee cup", "seen from above".
- Composition: "centered, lots of empty space at the top for a title".
- Text in the image: "the words SUMMER DROP in bold letters at the bottom". Nano Banana Pro and GPT Image handle short text well.
- Fixes: "keep the logo exactly as in the subject image", "no extra people".
Keep it short. One or two sentences on top of the slots usually beats a paragraph, because the images already carry most of the description. If you want inspiration, our Whisk AI style ideas post has prompt formulas for stickers, plush toys, enamel pins, figurines and posters.
Step 4: Choose aspect ratio and resolution
Square (1:1) and 4:5 are the natural shapes for stickers, pins and social posts. Use 9:16 for phone wallpapers and stories, 16:9 for banners and thumbnails. Nano Banana models offer the widest choice, including 21:9.
Resolution changes the price on most models, so draft at 1K and only re-run your favourite at 2K or 4K. Free accounts render at 1K; credit packs and plans unlock higher resolutions. The cost box above the Generate button always shows the exact credits before you click.
Step 5: Generate, compare and iterate
Press Generate (or Ctrl/⌘ + Enter). Nano Banana Pro usually takes 20 to 60 seconds; GPT Image models take 30 to 90. The result appears on the canvas next to the panel, with Download, Copy prompt and Reuse settings. Reuse settings puts the same slots, model and prompt back into the panel, so you can change one thing at a time:
- Swap only the style image to try a different look on the same subject.
- Keep the style and change the scene to build a consistent series.
- Add one sentence to the prompt to fix a detail instead of starting over.
Changing one variable per run is the fastest way to learn what each slot contributes.
Step 6: Animate the remix
When you like a remix, click Animate this on the result. WhiskAI sends the image to the video studio in keyframes mode, with your image as the first frame, so you only need to describe the motion: "the sticker peels off the page and spins", "slow camera push-in, soft wind in the hair". Video models are billed separately; Veo 3.1 Lite, for example, costs 41 credits for a 720p clip, and Seedance 2.0 Mini starts at 6 credits per second at 480p. The pricing page lists what a credit pack buys on every model.
Common problems and quick fixes
- The subject changed too much. Use a cleaner subject photo, switch to Nano Banana Pro, and add "keep the subject's face/shape exactly" to the prompt.
- The style is too weak. Crop the style image tighter so it shows mostly texture, or name the medium in the prompt ("as a felt plush toy").
- People from the scene image appear. Use an empty scene or say "no people" in the prompt.
- Text is misspelled. Keep it to a few words, put it in quotes, and try GPT Image 2 or Nano Banana Pro.
Where to go next
Browse the gallery for prompts other creators used, and press "Use this prompt" to load one into the studio. If you came here looking for Google's own tool, read what happened to Google Whisk for a short history and how this Whisk-style remixer compares. When you are ready, open the image studio and drop in your first subject.
Try a Whisk AI remix
Put the guide to work: drop a subject, a scene and a style, pick a model and see the credit cost before you generate. New accounts get free credits for a first remix.